

5 minute read
Image: WordmanSpeaks.com
October 14, 2025
(Or, if you don’t like split infinitives, “To Number Lists Boldly…”) How to create numbered lists in Microsoft Word and PowerPoint where the numbers are bold and the text is not (necessarily) bold.
By Dick Eassom, CF APMP Fellow (aka Wordman)
In Word and PowerPoint, you can easily create numbered lists by simply clicking Numbering in the Paragraph group of the Home ribbon tab, ![]() . Getting those numbers to be bold, however, and the text not bold is another matter. Let’s look at how to do it in Word.
. Getting those numbers to be bold, however, and the text not bold is another matter. Let’s look at how to do it in Word.
Bolding Numbered Lists in Word: The Easy Way
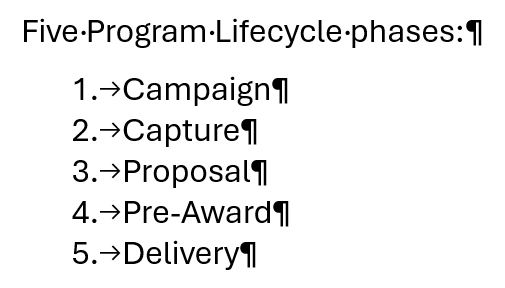
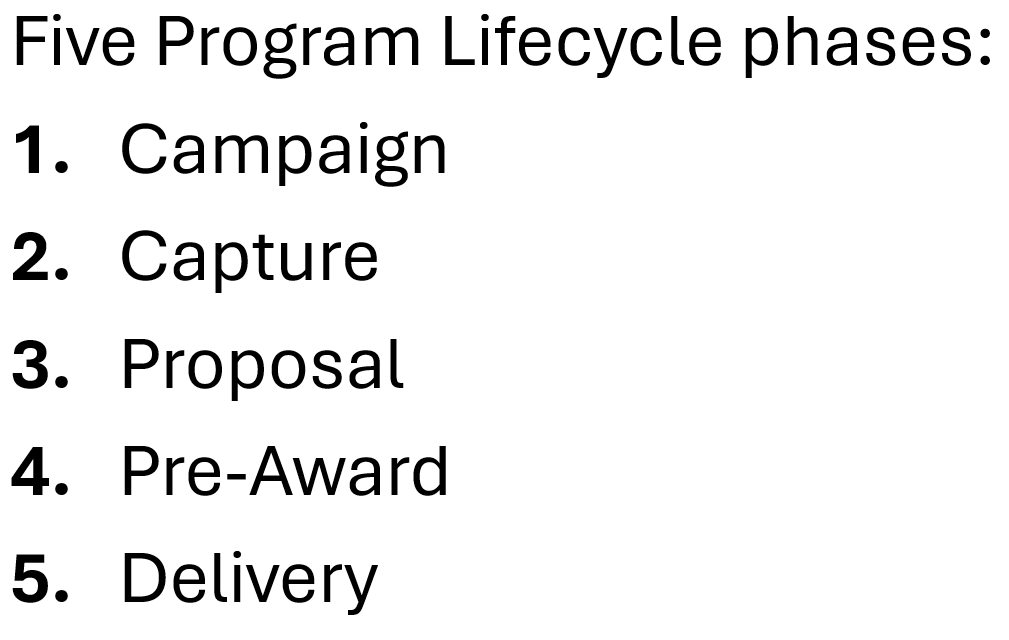
Word “stores” the styling for paragraphs (and sections, and documents) in the hidden paragraph mark at the end of the paragraph (or section, or document). Let’s look at an example. Here are the five phases of SMA’s Program Lifecycle:

To see the paragraph mark, press Ctrl+Shift+8 (i.e., Ctrl+*) or click Show/Hide ¶ in the Paragraph group of the Home ribbon tab:
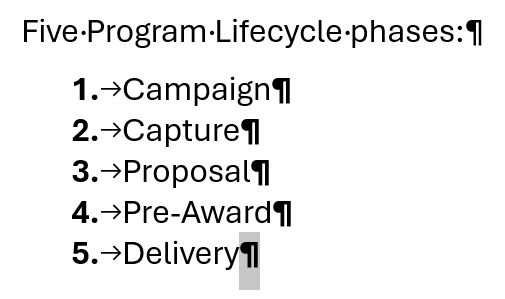
To make the numbers bold, select the paragraph mark and press Ctrl+B (or click Bold in the Font group on the Home ribbon tab:
Bolding Numbered Lists in Word: The Better Way
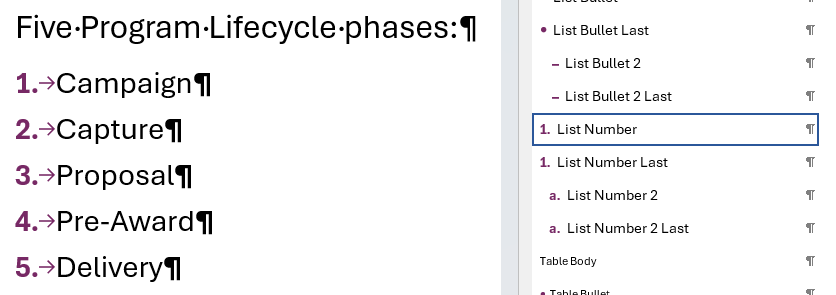
That works, but it’s not a robust solution. Ideally, we have a well-designed, robust template for our work, be it a proposal document or a technical report. In that template, there should be one or more levels of numbered list styles using Word’s built-in List Number X styles. Using styles creates consistency across multiple documents, such as proposal volumes, and reinforces your corporate branding. The style defines the color, formatting (i.e., bolding), and indents of the list number. Here’s an example from SMA’s corporate document template, which has the List Bullet X and List Number X styles set to use the bold, plum color from our brand palette:
(I’m not going into how to set up styles and assign list galleries to them in this article, since how to create these styles deserves its own article, or even series of articles!)
Bolding Numbered Lists in PowerPoint
This is not as easy as Word, but achievable. Whereas Word sets the number formatting using the paragraph mark or, more robustly, using styles, PowerPoint does not even have these features. In fact, PowerPoint formats the list number based on the first character of the text following the list number. So, if you want bold list numbers, the first character of the text must also be bold:

That’s not very attractive, is it? But what if the first character of the text didn’t display? We can do this by using a special character called a “zero-width non-joiner” (ZWNJ). This is a zero-width character that used in some languages to prevent ligatures, i.e., two characters joining together when they shouldn’t. Here, we can use it to our advantage if we make it the first character in our text, and then bold it. There are two ways to insert this character:
Using Insert > Symbol in PowerPoint
Place your cursor in front of the first character in the list text, and then click Symbol on the Insert ribbon tab, ![]() . PowerPoint displays the Symbol dialog. In the Font dropdown at the top right of the dialog, select (normal text), and in the Subset dropdown at the top left, select General Punctuation:
. PowerPoint displays the Symbol dialog. In the Font dropdown at the top right of the dialog, select (normal text), and in the Subset dropdown at the top left, select General Punctuation:
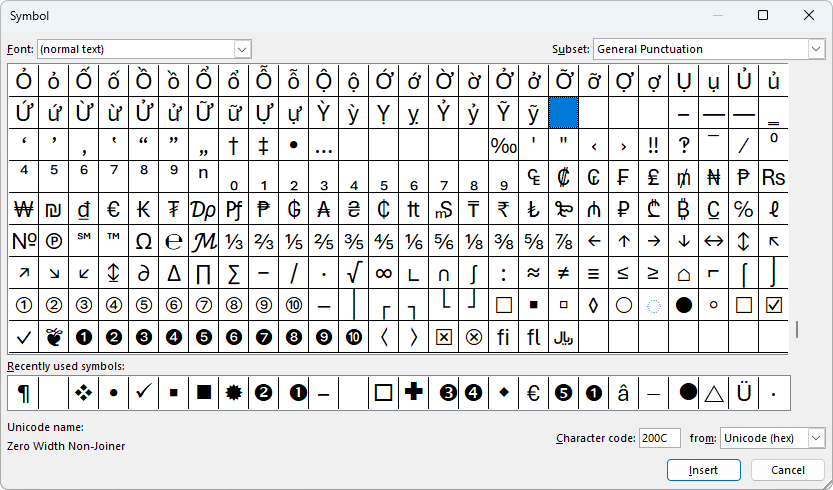
Select the “empty” square shown. The Unicode name at the bottom left should display “Zero Width Non-Joiner”, and the Character code at the bottom right should display “200C”. Click Insert and then close the Symbol dialog. There won’t appear to be any difference since the inserted character has no width, but now click the left arrow once, then hold down your Shift key and press the right arrow once. Doing this selects the zero-width non-joiner character. Press Ctrl+B and voilà, you now have a bold list number!
Note that if you select the zero-width non-joiner character and change other font properties, the list number will change also. Not all the properties may produce desirable results. Here, the font color is changed to SMA plum:

Using the Windows Character Map
Alternatively, you can use the Windows Character Map to select the zero-width non-joiner and copy it to your clipboard. To display the Character Map application, start typing “character map” in the Windows search box and then click Open.

Windows displays the Character Map application dialog. In the Font dropdown at the top left, select the font you’re using on your PowerPoint slide, e.g., “Arial.” In the Go to Unicode box near the bottom left, enter “200C”:
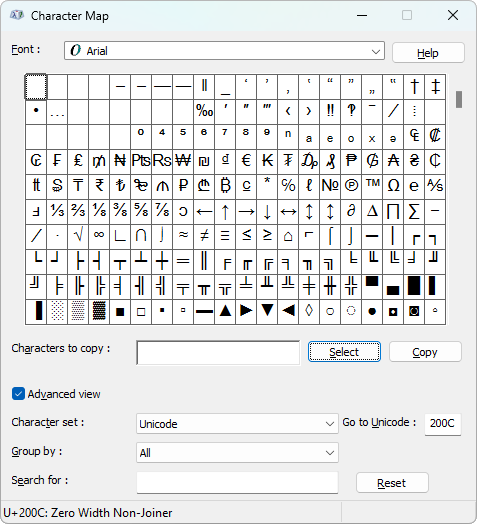
“U+200C: Zero Width Non-joiner” should be displayed at the bottom left of the dialog. Click Select and then click Copy. The zero-width non-joiner character is now in your clipboard, and you can paste it into each list item text by simply pressing Ctrl+V.
 |
Dick Eassom, CF APMP Fellow, is SMA’s Vice President for Corporate Support, and a certified Fellow and Founders' Award recipient of the Association of Proposal Management Professionals (APMP). He has led complex proposals worldwide across diverse sectors, supporting high-performing business development teams. |
Posted on October 14, 2025, by
Dick Eassom, CF APMP Fellow, SMA, Inc.


