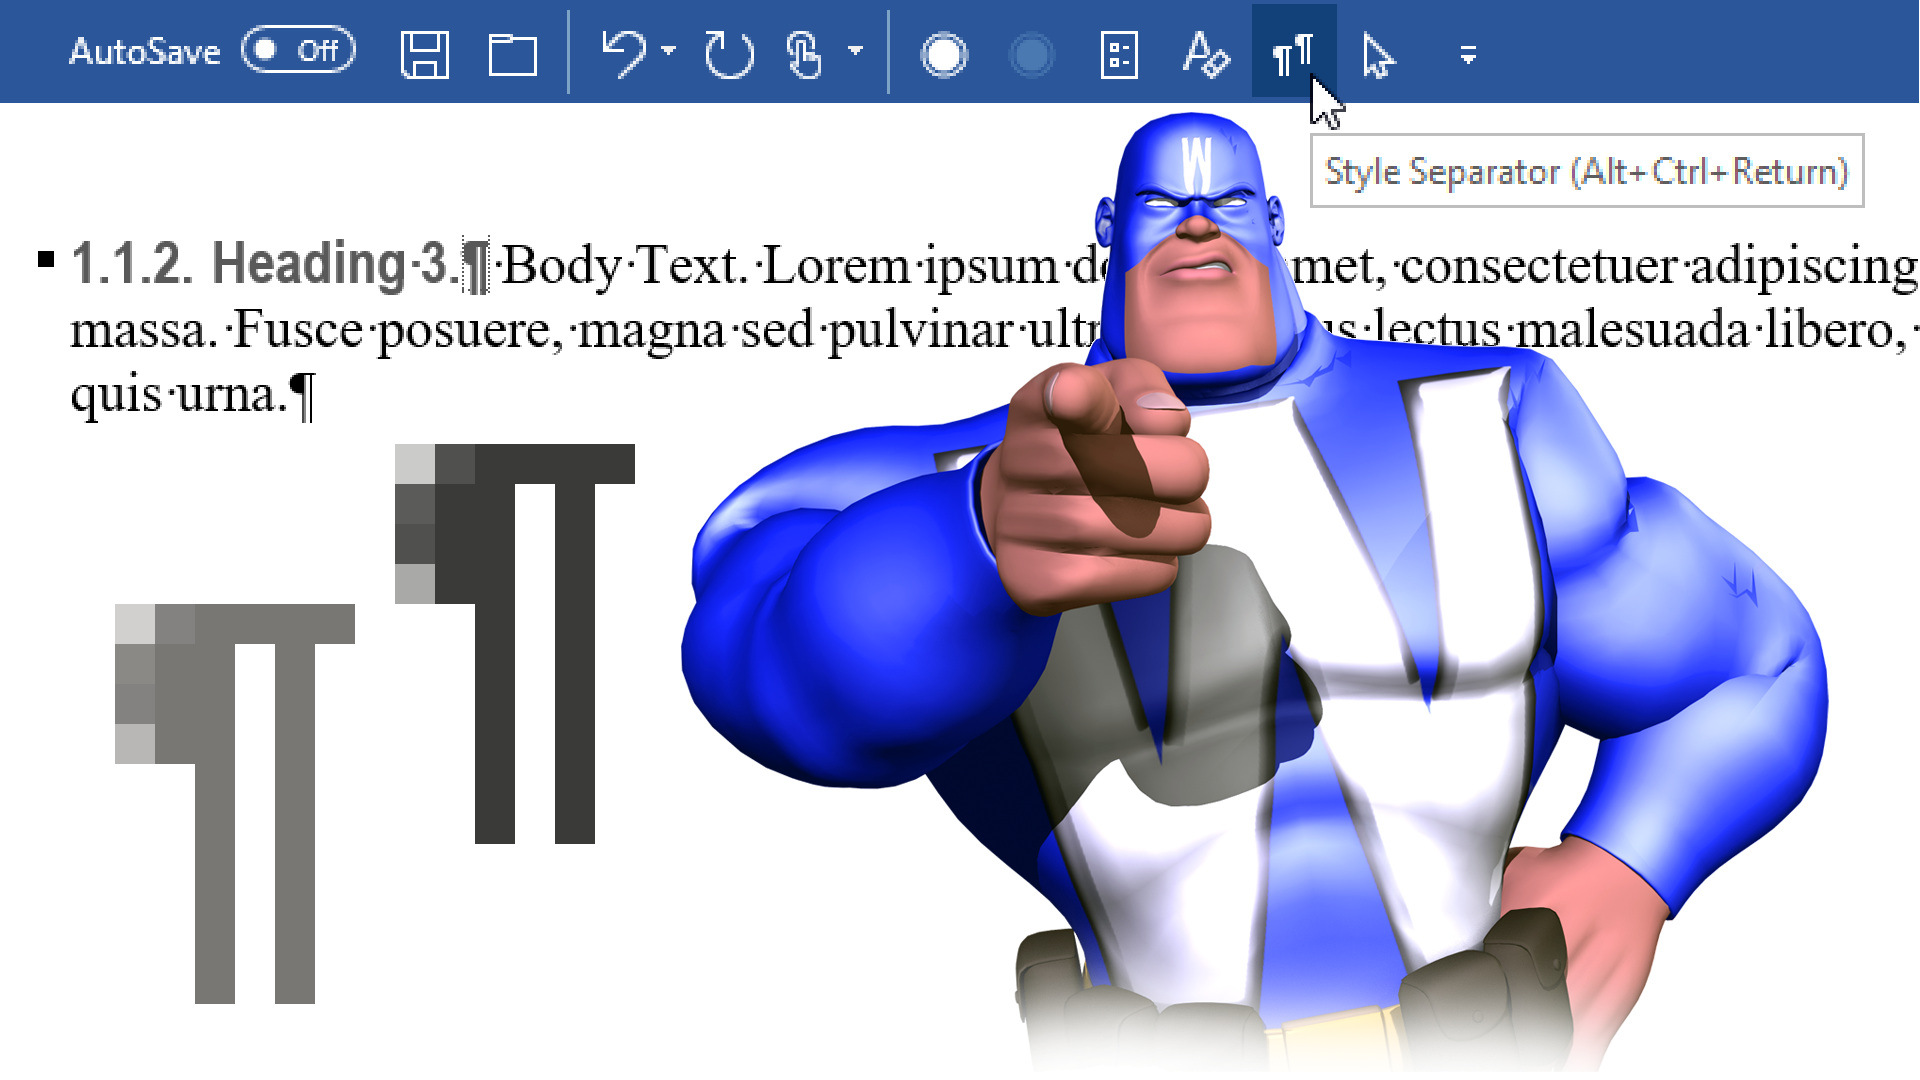
The Style Separator is one of Microsoft Word’s best-kept little secrets. If you need to separate run-on headings from text in your table of contents, or separate figure titles from action captions in your table of figures, then you need the Style Separator!
by Dick Eassom, CF APMP Fellow (aka Wordman)
Background
I wrote an article titled “A Matter of Style” for the Perspective, published by the Association of Proposal Management Professionals (APMP), back in 2006 discussing the merits of Word’s Style Separator. Recently, I was reminded of it thanks to an email from a proposal professional who had attended one of my Microsoft Word workshops and who had forgotten how to find it in Word.
In this article, I’ll show you how to create perfect run-on headings and figure captions using the Style Separator.
Accessing the Style Separator
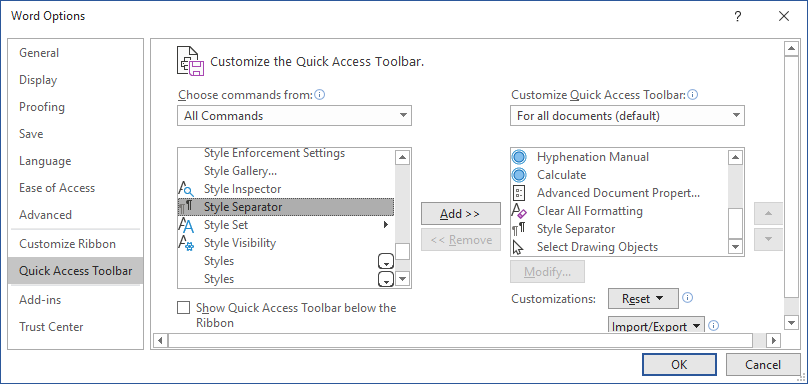
I believe the Style Separator was first introduced in Word 2002, part of the Microsoft Office XP suite, but don’t quote me on that. It has a built-in keyboard shortcut, Ctrl+Alt+Enter, but since you’re not going to use the Style Separator very often and that shortcut is an easy one to forget, I recommend you add it to your Quick Access Toolbar (QAT).
To do that, go to File > Options and select Quick Access Toolbar in the Word Options dialog. Select All Commands in the Choose commands from: list, and then scroll down that list. Select Style Separator and then click Add to customize your QAT with the Style Separator, and then click OK:
Creating a Run-on Heading
A run-on heading has the heading text and body text in the same paragraph:
Run-on headings save space in a page-limited environment, but they can create problems with tables of contents and when using automatically numbered headings. Although Heading X styles are Linked styles, i.e., they can apply to an entire paragraph or a selection of text, you cannot simply apply a Heading X style to the paragraph title. That won’t work if you’re using automatic heading numbering—the heading numbering is not displayed since the underlying paragraph formatting does not have any numbering. In the following example, the Heading 3 style (which has automatic numbering) has been applied over a paragraph formatted with the Body Text style:
The heading portion of the paragraph will appear in the TOC, but with no numbers:
Creating a Run-on Heading with the Style Separator
To do this, start with the conventional Heading X and Body Text in separate paragraphs:
Place your cursor at the end of the Heading X paragraph and then click on the Style Separator icon, , on your QAT (or press Ctrl+Alt+Enter). Word inserts the Style Separator:
With paragraph marks turned on (press Ctrl+* to toggle), you can see that Word displays the Style Separator as a pilcrow[1] surrounded by a dotted box. Word also displays the run-on heading correctly in the TOC:
Figure Titles and Action Captions
As we know, every illustrative piece of art in a proposal—something graphical that is telling part of our story—must have a caption. (It must also have a cross-reference from the appropriate part of the proposal text, but automatic cross references are the topic for a different Wordman article!) Depending on your in-house proposal style manual, your captions may be just simple titles (what the graphic is, e.g., “Our horse, Winning Proposal.”), or they could be more descriptive “action captions” (why I should look at it, e.g., “Our horse is a multiple winner in Grade I races.”). Some of you, and this is my preference, use both a title and an action caption.
However, a Table of Figures of all the figure titles and including the action captions can be multiple pages! I have seen some ridiculously long examples that, to my mind, defeat the purpose of having a Table of Figures. And someone even tried to justify why they should be that way…
Using the Style Separator with Figure Titles and Action Caption
To create a Table of Figures that comprises only the figure titles, but not the action captions, use a similar technique for each figure as the run-on heading example above. Start with the figure title and action caption in two paragraphs:
Now place your cursor at the end of the figure title and click on the Style Separator icon, , on your QAT (or press Ctrl+Alt+Enter). Word inserts the Style Separator:
You’ll see that Word only displays the figure title in the Table of Figures:
Figures in Text Boxes
If you are working in a multicolumn layout, or you need to have figures that are less than the page width, and you want to have the text wrap around the figure and its caption, then you will be using either borderless text boxes (my preference) or borderless floating tables.
In the case of text boxes, you cannot insert a caption or a Style Separator directly into a text box, so you will have to use the method above outside of the text box, and then cut and paste the entire caption (i.e., figure title, Style Separator, and action caption) content into the text box, making sure you keep the source formatting:
Word displays this correctly in the Table of Figures:
Figures in Floating Tables
I do not like using borderless floating tables for graphics/caption holders since a floating table does not display which paragraph it is anchored to, and that can create caption sequence issues when one or more are laid out on the same page. In addition to this, floating tables do not display the Style Separator correctly.
Again, since you cannot insert a caption directly into a table, you will have to use the method above outside of the text box, and then cut and paste the entire caption (i.e., figure title, Style Separator, and action caption) content into the text box, making sure you keep the source formatting:
Looks good, doesn’t it? And it displays correctly in the Table of Figures. However, toggle the paragraph marks off (press Ctrl+*), and you will see that the Style Separator does not function correctly inside a table, i.e., it splits the caption back into two paragraphs:
This is obviously a software bug, and it has existed since the Style Separator feature was introduced, so it’s best to assume that fixing it is not very high on Microsoft’s to-do list. I recommend that you use a text box for your floating graphics: it’s much easier to manage, even if you’re not going to use the Style Separator.
[1] The Origin of the Pilcrow, aka the Strange Paragraph Symbol, Jimmy Stamp, Smithsonian Magazine, July 10, 2013, retrieved from https://www.smithsonianmag.com/arts-culture/the-origin-of-the-pilcrow-aka-the-strange-paragraph-symbol-8610683/


